
We are IndiePump, the friendly neighbourhood marketing agency for indie games, and we’re brimming with excitement to help you embark on your Unreal Engine adventure! Unreal Engine, if you’re not yet familiar, is a game-changer in the realm of game development with its incredibly powerful real-time 3D creation tools.
I. Introduction
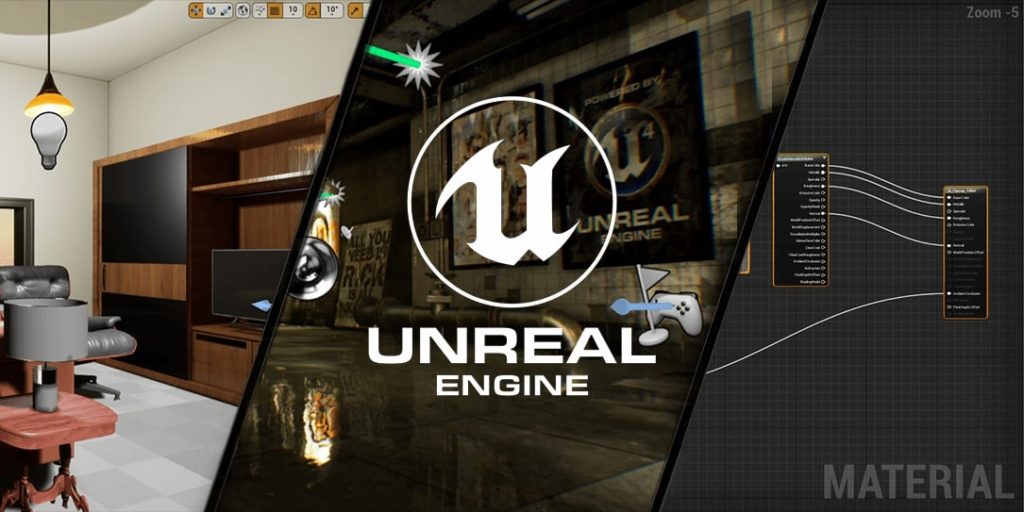
Unreal Engine, it’s like a wizard’s spellbook in the world of game development. Its 3D creation capabilities are almost unbelievable. You’re not just developing a game, you’re crafting a universe, constructing stunning architecture, and even pushing the limits of virtual reality. The catch? To bring your epic visions to life, setting up Unreal Engine correctly is crucial. It’s like assembling your magic wand, and IndiePump is here to guide you every step of the way!
II. System Requirements for Unreal Engine
Before we start our journey, let’s make sure your noble steed – your computer – is up for the challenge. To run Unreal Engine smoothly, your system needs certain specifications. It’s a bit like prepping for a rocket launch; the equipment has to meet specific standards to ensure a successful mission! Checking these requirements is essential for a seamless game development experience, so head over to the Unreal Engine official website and check out the recommended system specifications.
III. Downloading Unreal Engine
Alright, now that your PC is ready, it’s time to get Unreal Engine onboard! Think of it as the precious cargo for your mission, so make sure to download it from the official Unreal Engine website. It’s the only surefire way to get the most authentic and secure version of the software.
IV. Installing Unreal Engine
Now, it’s installation time! Think of it as setting up your new gaming console – you want to take each step with care to ensure everything works perfectly. Run the installer, follow the prompts carefully, and select the installation path that suits your system’s structure. It’s like setting up the foundation for your game development journey – crucial and exciting!
V. Setting Up Your First Project
Ready for some fun? The Unreal Engine interface is your game development playground. Starting your first project feels like stepping into an epic adventure game. You’ll pick your path by choosing the project template, gear up by setting the quality level, and finally, you’ll name your quest. Each choice will significantly influence your project, so take your time, and remember, every great game was once just an idea in a developer’s mind – like yours right now!

VI. Conclusion
Celebrate your victory, you’ve successfully set up Unreal Engine! You’re now ready to bring your game development dreams to life. This setup process is the launchpad to your creative journey. As you forge ahead, remember that every step, every decision, every success, and even every stumbling block is part of the exciting world of game creation. And hey, IndiePump will always be here to help you market and share your masterpiece with the world!
VII. Additional Resources
The road to mastering Unreal Engine doesn’t end here. There are countless resources available for you to sharpen your skills and expand your knowledge. Be sure to explore Unreal Engine’s tutorials and visit their official documentation and support for a more in-depth understanding.
And remember, the team at IndiePump, your companion in this game development adventure, is always eager to support you. From answering your queries to helping you market your indie game, we’re with you all the way. Game on!